

Tutorials
Effects Tests

Films and FX tests
Cloning Yourself in Adobe After Effects 5.5 - A Tutorial
Other tutorials: Superfast running | Blasters using the Beam Effect
Index | Page 1 | Page
2 | Page 3 | Page 4 | Page 5
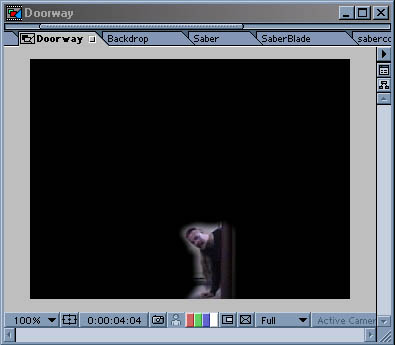
Page 3 - Setting up the masks for the Doorway footage
The next step is to mask each instance of the Doorway.avi file.
The idea here is that in order for all of the instances of yourself to be seen, you need to get rid of all the stuff around each one so you can see through to the layers behind each. To do this, you create a mask around the image.
Double click on the instance in the timeline to open up the AVI clip the same way as before. Select the Pen tool

First off, click on the eyeballs of the two clips that you are
NOT working on to hide them and avoid confusion.
Use the pen to begin tracing an outline around yourself on the open AVI window.
Make sure that the last point the you create is directly on top of the first so
that it closes the path. You can select the Arrow tool when you are finished to
further adjust the new path to make it more exact. This takes some practice.
But, once you get it down, you will find that this technique is one of the greatest
assets of After Effects.

Once the path is closed, you'll see that your Doorway Comp now looks like this:

It's a good idea at this point to feather the mask a little to take off the hard edge. You may not have to, but in my situation, I had to because the difference in lighting made the mask too obvious.
To do this, uncollapse the timeline for this clip. Uncollapse the mask. And click on the value for feather. Set it to 10.

Now your comp will look like this:
Now you just need to repeat these steps for all the clips in the Comp. When it's finished, you will be able to see all 3 instances of the actor without being obscured by any sort of backgrounds.

Go on to page 4: Animating the mask
